Arts & Crafts: Fixing a Pair of Sandals From Ouch to Ahh!
I bought these sandals. I needed something that would do for the summer that's that sort of mid-range dress-casual style, that would sort of "go with everything." I rarely wear white so that's right out, but black doesn't always work either. Then I saw these super cuties on sale at Payless and I had a coupon so I bought them.
Problem is, when they came in (did I mention I do most of my shopping online?) they were... ok but not quite right. You see, it's the laces.


 Also make sure you leave it slack and un-stretched in each spot. You want to be able to stretch it later.
Tie up the end in a bow until it's almost big enough, snip off the ends if they're too long, and pull the ends into the knot if they look like crap:

 A simple fix, and I think it's femmes up the sandals a bit too which is nice! Perfect for making them slip on and off without constantly retying them, and will also allow my feet a bit of flexibility for swelling while walking in summer heat (hint: Might be a nice solution for pregnant femmes!).
Problem is, when they came in (did I mention I do most of my shopping online?) they were... ok but not quite right. You see, it's the laces.
As you can see, I tried a couple (dozen) different ways of lacing them. Each and every one caused painful pressure points from the round laces on the tops of my feet in minutes. No matter how I laced them, the ends were so long that the bows and tails would flop around and tickle my feet like I had bugs crawling all over them. Payless, if you can hear me: THIS IS NOT OKAY!!!
I knew I had to do something. They sat in their box in the bottom of the closet for more weeks than I'm ready to admit, while I figured out something else. I bought a sets of kids-shoe-sized elastic shoelaces for $6, hoping they would be shorter and then I could tie them once and be done with it. But when they came in, they were EVEN LONGER than the ones I had already! (Thankfully it wasn't a wasted $6, I put them on another pair of shoes that needed new laces anyway.)
I had to stop next door to Joann's anyway so I stopped in to check out my options. At this point I was thinking if I even got some ribbon or lace, at least it would be super cute and I could just go ahead and retie them every time, hopefully with smaller bows.
Then I saw this for $3:
5/8 inch ruffle elastic. It's in with the other elastics, and they had like 10 colors so you can do this with any color sandal, shoe, or whatever. I was worried that it would be too wide, but it's not--still, I'd go as thin as 3/8 inch if you can find it, but make sure it's flat!
First, cut the elastic. You might as well just cut it in half, seeing as this is a yard length, but I sort of measured and figured that a length three times as long as the space to be laced would work, assuming you don't want a LOT of space between the two sides of eyelets. I had about 6 inches of ruffle left at the end of this, so I'd stick with just accepting that you're using the whole shebang and cutting the sucker in half.
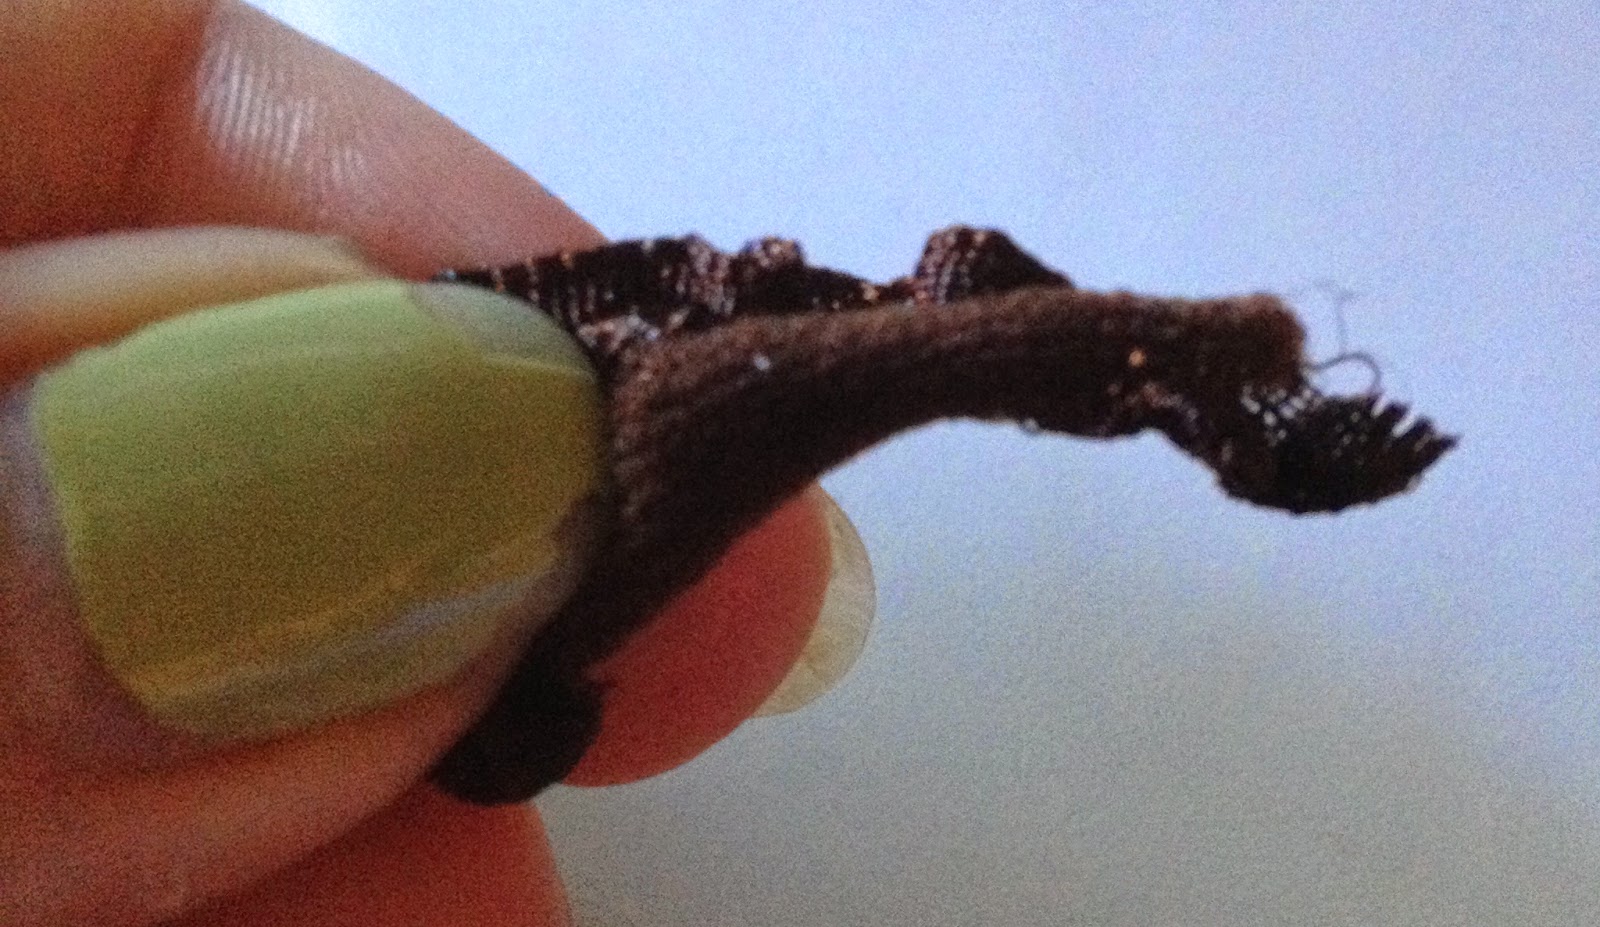
Then use some fray-stop or clear nail polish on the ends.
I just put a light coat on, just enough to try to stabilize it a little bit. Honestly I expected to be cutting the ends off, but I cut my length so close to perfect that I couldn't. If you don't have something suitable, just skip this step and it's probably ok. Wait 15-30 minutes for the fray-stop to dry.
I found it useful to roll the end into a deeper point (which is why the fray-stop may have been pointless):
Lace it however you like, just keep an eye on not letting it get twisted so the final project lays flat. I wanted my bow at the toes so:
Tie up the end in a bow until it's almost big enough, snip off the ends if they're too long, and pull the ends into the knot if they look like crap:
And Voila! It stretches to get into my foot, then pulls back to fit snugly. It flexes when I walk, but is still supportive. The ruffle is soft, and because it's flat and so flexible there are no pressure points.

Comments
Post a Comment